This fanciful french name, Faubourg, is named after Faubourg Saint-Honore, the exclusive neighbourhood surrounding the original Lauduree, and its shape is that of a pave, or paving stone, usually baked in a loaf pan. This was the first cake Pierre Herme baked when he took over the kitchens of the legendary Lauduree in 1997, Paris's oldest patisserie.
This cake is pretty simple to bake. It is taken from Chocolate Desserts by Pierre Herme book. It comprises a chocolate sponge cake and chocolate caramel ganache. This chocolate sponge is quite different from the chocolate genoise sponge cake that I normally bake. This sponge cake uses lots of egg yolks lightened with some whipped egg white meringue. It uses a combination of cake and potato flour. I find the texture of the cake to be not as airy as the genoise sponge but it is definitely more fine-grained. It tasted light and moist with a sprinkling of simple syrup. I would definitely use it again.

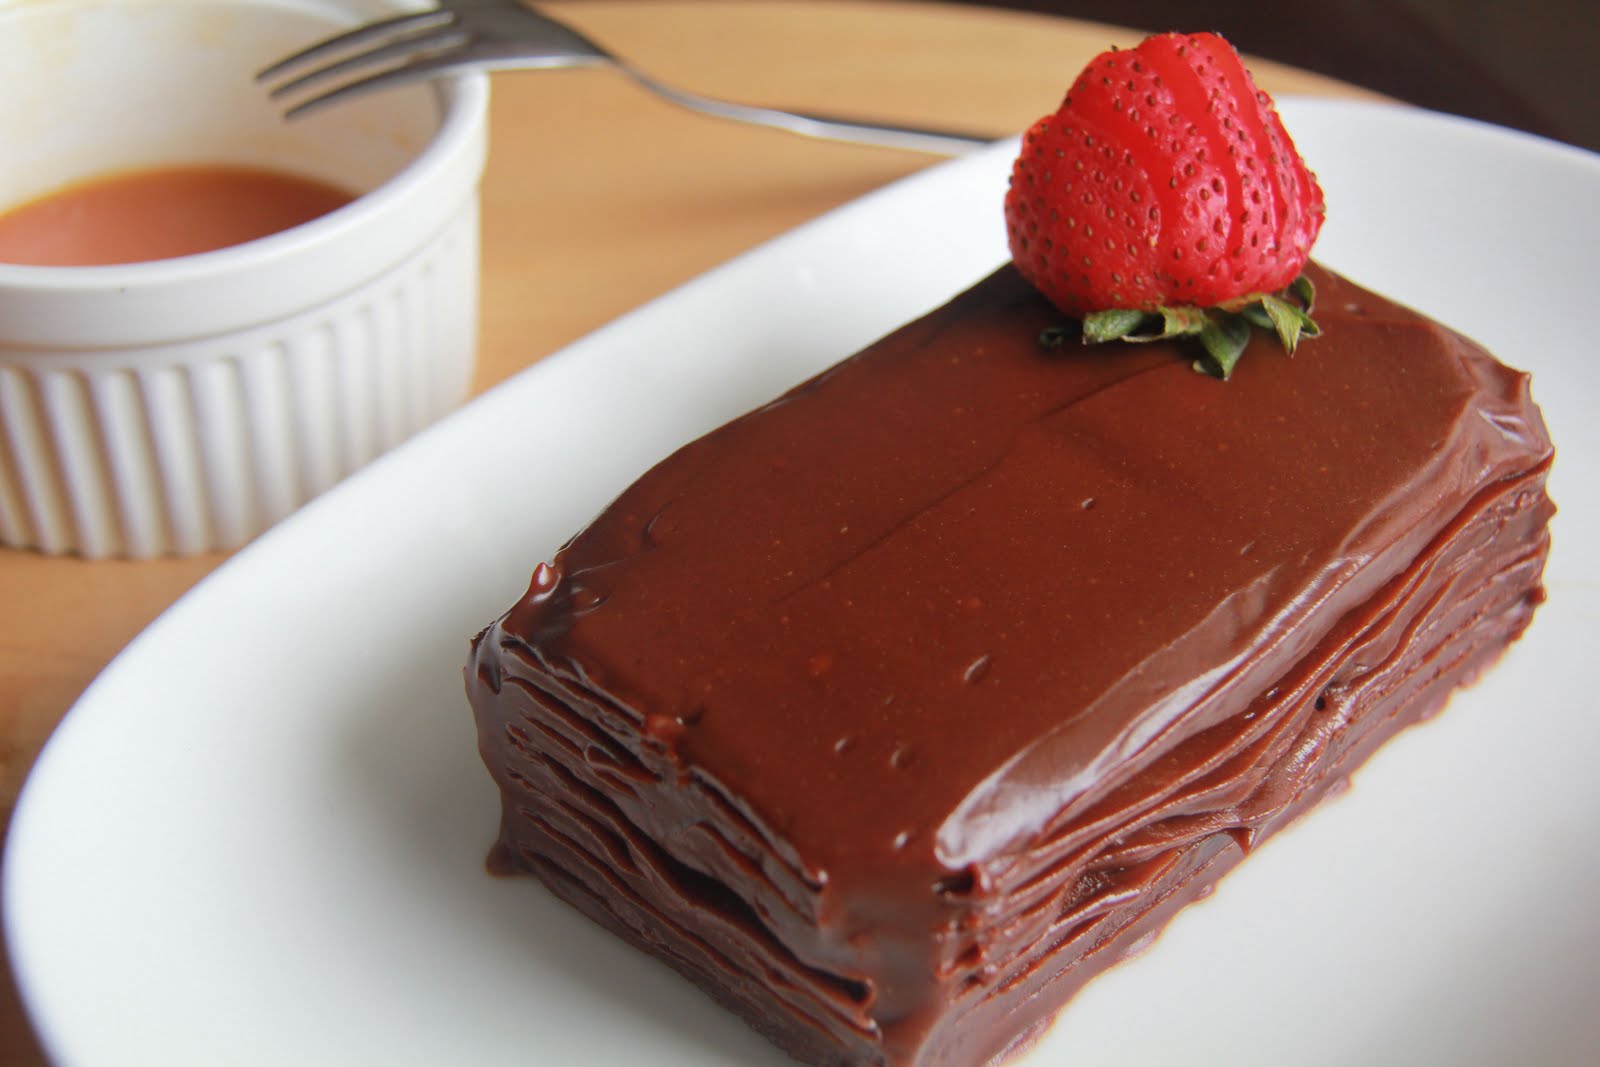
The cake layers are finally spread and dressed with sweet-salty caramel-chocolate ganache. This is brilliant. This ganache uses two types of chocolate, butter, heavy cream and caramelized sugar instead of just the usual heavy cream and chocolate. It's more tedious to make, but I can assure you, it's worth all the effort. Imagine the taste of sweetness from the sugar, bitterness from the chocolate and saltiness from the salted butter coming all together as you eat it. All ready to have a bite?
The original recipe has apricots sandwiched between the ganache layers. But I discovered I have run out of apricots when I was baking it that day. I remembered having a packet in the fridge, but it's gone. What should I substitue it with? A brainwave struck. Why not replace it with crunchy Valrhona chocolate pearls? It adds a different sensation to the cake. The final verdict - light and moist chocolate sponge, sweet, salty, bitter and crunchy.
Psst ... I made a mistake of not refrigerating the cake after applying the ganache and before creating the horizontal stripes around the sides. I was too eager to get it done. That's why the lines were not distinct and the cakes did not look as beautiful as the one in the book. We have to be patient if we want our cakes to taste good and look good. No shortcut.
Recipe (adapted from Chocolate Desserts by Pierre Herme)
Cocoa Sponge
40g dutch-processed cocoa powder, preferably Valrhona
35g cake flour
31/2 tbsp (38g) potato starch
75g unsalted butter
9 large egg yolks, room temperature
150g sugar *
5 large egg whites, room temperature
* I reduced sugar to 135g as I prefer my cake to be less sweet
- Centre a rack in the oven and preheat the oven to 180 degree celsius.
- Butter two 71/2 x 31/2 inch (18 x 9 cm) loaf pans, then line the pans with parchment paper.
- Sift together the cocoa powder, cake flour and potato starch and keep close at hand.
- Melt the butter and set it aside to cool until it is barely warm to the touch.
- Working in a mixer fitted with the whisk attachment, beat the egg yolks and 60g sugar on medium-high speed, scraping down the sides of the bowl as needed, until the mixture is thick and pale, about 5 minutes. If you do not have a second mixer bowl, scrape the thickened egg yolks into a large bowl and wash and dry your mixer bowl; wash and dry the whisk attachment in any case.
- Fit the mixer with the clean, dry bowl and whisk and whip the egg whites at medium-high speed just until they form soft peaks. Gradually add the remaining 75g sugar and beat until the peaks are firm and shiny.
- Working with a large rubber spatula an a light hand, fold the sifted dry ingredients and 1/4 of the beaten egg whites into the yolk mixture.
- Stir a few tablespoons of this mixture into the cooled melted butter, stirring to incorporate the butter as much as possible, then add the butter and the remaining whites to the yolks. Working quickly and gently, fold everything together.
- Pour the batter into the prepared pans - it should come 3/4 of the way up to the sides - then slide the pans into the over. Bake the loaves for 25 to 30 minutes or until a skewer inserted into the centre of the pan comes out clean.
- To cool the loaves, allow them to rest for 3 minutes in their pans, then gently unmould them onto cooling racks, delicately lift off the parchment paper, and turn the cakes right side up to cool to room temperture.
Soaking Syrup
50g sugar (I reduced it to 45g)
10g salted butter (or use unsalted butter with a tiny pinch of salt)
100g warm water
- Put the sugar in as medium saucepan or a small skillet and place the pan over medium heat. As soon as the sugar starts to melt, stir it with a wooden spoon.
- Keep heating and stirring the sugar until it turns a rich brown colour - you can test the colour by putting a drop on a white plate.
- Standing away from the pan, drop the butter into the pan, then, as it melts, stir it into the caramelized sugar.
- Stand back again and add the water. When the mixture comes to the boil, pull the pan from the heat.
- Allow the syrup to cool to room temperature.
The Arpicots
170g moist, plump dried apricots
1 cup (250g) water
Juice of 1/2 lemon
Pinch of freshly ground black pepper
- Put the apricots and water in a medium saucepan and bring to a gentle boil. Reduce the heat to its lowest setting and simmer for 3 to 4 minutes. Drain the apricots and let cool.
- When they are cool, cut the apricots into small dice. (If you like, you can reserve 2 apricots and use them to decorate the top of the cake.)
- Toss the apricots with the lemon juice and black pepper and set them aside until needed.
The Ganache
185g bittersweet chocolate, preferably Valrhona Manjari (64%), finely chopped
120g milk chocolate, preferably Valrhona Jivara, finely chopped
140g sugar (I reduced to 125g)
20g salted butter (or use unsalted butter plus a tiny pinch of salt)
275g heavy cream
335g unsalted butter, at room temperature
- Mix the bittersweet and milk chocolate together in a large heatproof bowl and set aside.
- Set a heavy-bottomed medium saucepan over medium-high heat and sprinkle about one-third of the sugar over the bottom of the pan. As soon as the sugar starts to melt and colour, stir it with a wooden spoon until it melts and caramelizes. Sprinkle over half of the remaining sugar and, as soon as it starts to melt, stir it into the caramelized sugar in the pan. Repeat with the last of the sugar and cook until the sugar is a deep brown color. (Test the colour on a white plate.)
- Stand away from the pan and, still stirring, add the salted butter and then, when the butter is incorporated , the cream. Don't worry if the caramel seizes and clumps - stirring and heating will even it out. Bring the cream to the boil, then remove the pan from the heat.
- Pour half of the hot caramel over the chopped chocolate and, using a rubber spatula, stir gently, starting in the centre of the bowl and working your way out in concentric circles. When the chocolate is smooth, add the remaining caramel, stirring in the same manner. Set the ganache aside to cool for about 10 minutes, or until it feels only slightly warm to the touch.
- While the ganache is cooling, beat the unsalted butter, using either the paddle attachment of a mixer or spatula: You want to soften the butter until it is the consistency of mayonnaise, but you do not want to beat air into it. With this in mind, if you're working in a mixer, don't beat on high speed; or, if you are beating it by hand, don't use a whisk.
- Working with a rubber spatula or a whisk, gently stir (don't beat) the butter into the ganache. (The ganache can be used now, or you can store it in the refrigerator for up to 2 days, making sure to cover it tightly after it has cooled. When you are ready for it, allow it to come to room temperature, then stir gently to smooth it.)
- To work with the ganache, it must be the consistency of a very creamy frosting and must have enough body to mound - you're going to spread a thick layer of it between each of the cakes' layers. To get it to set to this consistency, you can either place the bowl of ganache in a larger bowl half-filled with ice cubes and water or refrigerate it, checking on it at 5-minute intervals. In either case, it's important to stir the ganache frequently (but gently), so that it doesn't become too firm around the edges.
- Working with a long serrated knife, even the tops of the cakes by slicing off any portions that have domed. Then slice each cake horizontally into 3 even layers. Place the bottom layer of each cake on its own cardboard cake round and keep the remaining layers close at hand.
- Using a pastry brush, dab the bottom layers with enough of the caramel syrup to moisten them thoroughly and give them a caramel boost.
- Switch to a metal spatula - you may find the offset spatula easiest to work with - and spread a layer of the ganache over each moistened layer. Aim for a layer of ganache that is a scant 1/2 inch (11/2 cm) thick, and work to get the layer as even as possible. There's always a tendency to have less ganache at the corners than in the centre - try to avoid this.
- Dot the top of the ganache with half the apricots and very gently press the apricots into the ganache. Don't worry if some of the ganache oozes out over the sides of the cake - just spread it over the sides and carry on.
- Set the next layer into place on each cake, and moisten it with syrup. Smooth each layer with another layer of ganache and dot with the remaining apricots.
- Moisten the top layers of the cakes and settle them in place. Take a look at the cakes now, while the ganache is still soft, and, if they're leaning to one side or the other, use your spatula to gently right them. Spread a very thin layer of ganache over the sides and tops of the cakes - you'll put more on later - and transfer the cakes to the refrigerator to chill of 30 minutes. Keep the ganache at room temperature while the cakes are chilling.
- Remove the cakes from the refrigerator and, again using a metal spatula, cover the cakes evenly with the remaining ganache. It's nice to get the tops as smooth as possible, but you don't have to fuss too much with the sides. Using a decorating comb or the tines of a fork, striate the sides of the cakes horizontally, making sure to wipe the comb or fork clean between passes. If you find that you are not getting clean lines, tuck the cakes into the refrigerator for about 5 to 10 minutes, just to firm the ganache slightly, then try again. (At this point, the cakes can be frozen until firm, wrapped airtight, and kept frozen for up to 1 month.)
- If the ganache is not too soft, you can serve the cakes now, or you can keep them refrigerated for up to 12 hours. (If the cakes have been refrigerated for several hours, allow them to stand at room temperature for an hour before serving - if the cakes are too cold, the extraordinary texture of the ganache is diminished.)
- Just before serving, dust the tops lightly and evenly with cocoa powder - for best results, use a strainer or dredger - and, if desired, top each cake with a reserved whole apricot.

No comments:
Post a Comment